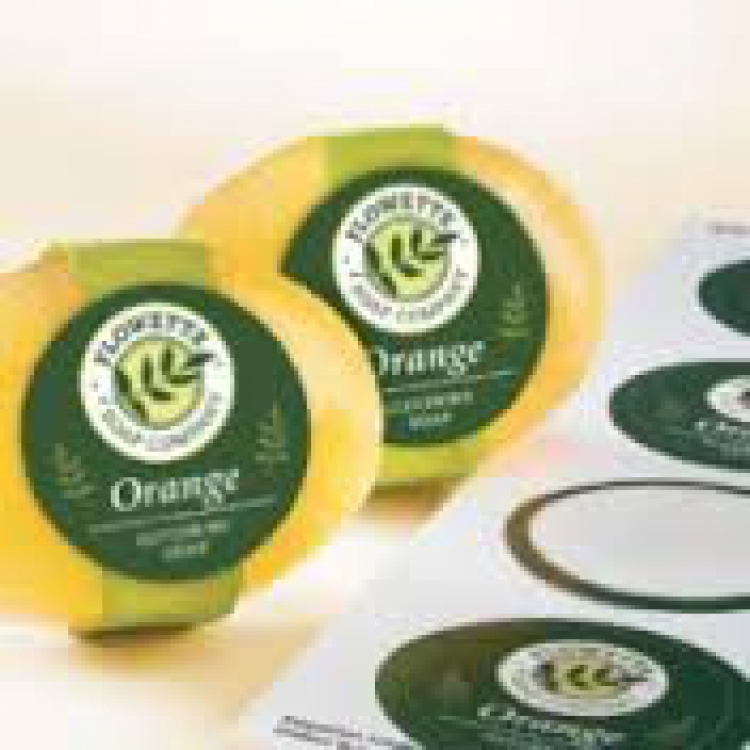
Folks who purchase full color label ink jet printers are often disappointed to learn that they are not able to print labels with full bleed, or that has for example, a background that covers the entire label.
Most end up having to print labels close to their edge, and the labels end up with white borders. If the ink prints over the edge of the label material, and onto the extended backing liner (silicone coated), the ink can’t dry and it makes a smudgy mess.
In other words, ink jet labels often require margins.
There are two workarounds for this, which will allow you to print on the entire label:
For short label batches and small volume runs:
- Leave the die cut matrix on the roll stock and print registration marks on the back liner. The printer sensor will obviously not see any label gaps, so the back liner registration marks are required.
- Make the background or desired full bleed larger than the actual labels.
- The matrix may need to be removed for auto labelling equipment.
Or
For large label batches and high volume runs:
- Print label stock with registration marks. Background can be larger than actual label.
- The printed rolls are then mounted onto a label finisher where they can be die cut, have the matrix removed, labels laminated, and finally, provide finished rolls slit to their exact width and number of labels across.
While these workarounds may not be ideal solutions for everyone, they will enable some to utilize their existing ink jet printers, and print labels with full bleed at 100% label coverage.
Published:


