

By George Righter
Recently, a customer called me with a new mandate to add a 2D Datamatrix code to their labels. Luckily, with Loftware's Nicelabel all of the heavy lifting has been done making this set up a snap.
The requirement was specified to add a GS1 2D barcode (size 10-19 mils) with the following information:
- Ref # (identifier – 91): 901910
- Supplier Lot # (identifier – 10)
- Expiration Date in YYMMDD format (identifier – 17)
- Qty (identifier – 30): this value is always
Note that each required field will begin with a 2 digit identifier number. When the computer/machine reads the barcode, it knows it is a GS1 2D Datamatrix code, and looks for each identifier. Each identifier simply precedes the data for each one. We’ll walk through the set up process here.
Creating A New Label
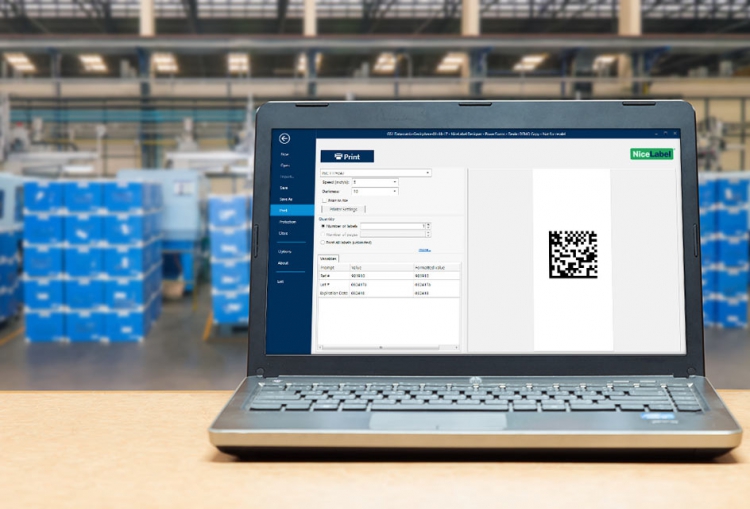
Open Nicelabel Designer, create a new label then proceed through the New Label Setup Wizard by selecting the desired printer on your system, Set the Page Size, select the Label Layout, specify the Label Dimensions, and click Finish. In my case I selected a Sato CL612e Printer to print on a roll of labels, in portrait mode, with label dimensions of 5.375” x 2.250”, containing no margins, and printed 1 label across.
We’ll add the barcode field. On the left hand side of the screen click on the Barcode icon, and drag/place your mouse cursor where you want the barcode to print on the label. Double click on the barcode then click the arrow under Barcode Type to open the list of barcodes you can select from. In this case, scroll down and select the GS1 Datamatrix barcode type. Now, GS1 Datamatrix should appear in the Barcode type box. In the X Dimension box, simply select the desired mils. This is a cool new feature, since most mandates specify the size range in mils. I selected 18.
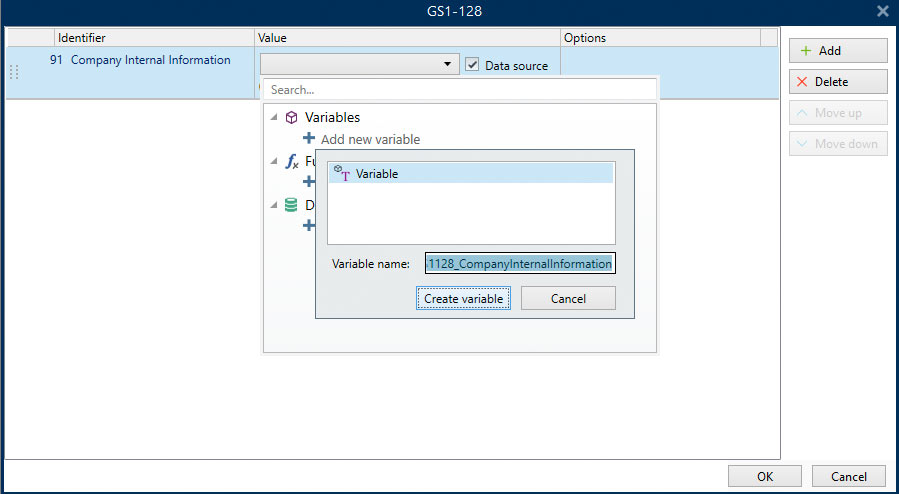
Click on the Source tab, then Edit Function Definition. A GS1-128 box will open; click the +Add button to add the identifiers. Please do a quick scroll through the list entirely, in order to see all of the identifier choices. I selected identifier 91 Company Internal Information or Ref #. Since the value of the Ref # will vary for each print job, I would like the printer operator to be prompted for the Ref # at print time. Click Data Source, Click Add New Variable then Create Variable.
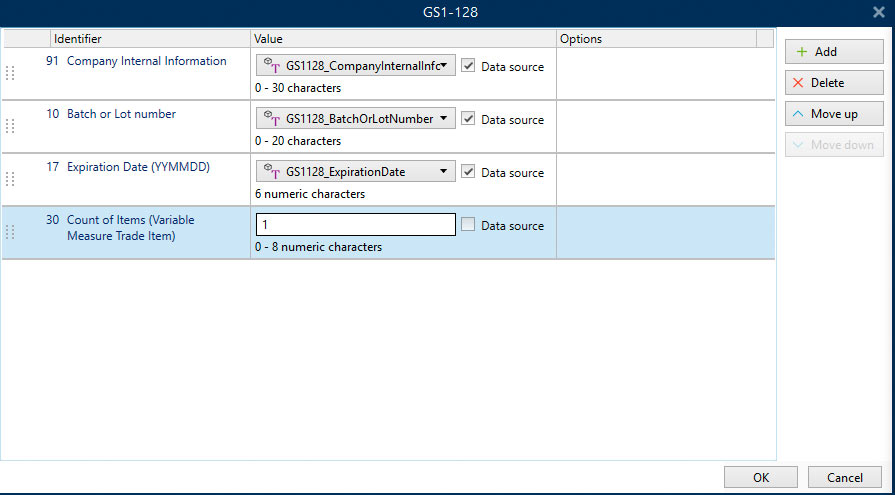
You’ve just added the first identifier. Click the +Add button and select the next desired identifier. In this case I selected 10 for Batch or Lot #, clicked Data Source, Add Variable, Create Variable. Next I need to add an identifier of 17, which specifies an Expiration Date in YYMMDD format. Click +Add, select Identifier 17 for Expiration Date, select the Data Source button. Select Variable, Create Variable. Finally, we will create the QTY Identifier, which in this case will always be 1. Click +Add, select Identifier 30, for count of items (qty) and this time, since the Qty will always be fixed at 1, enter 1 in the Value box and click OK.
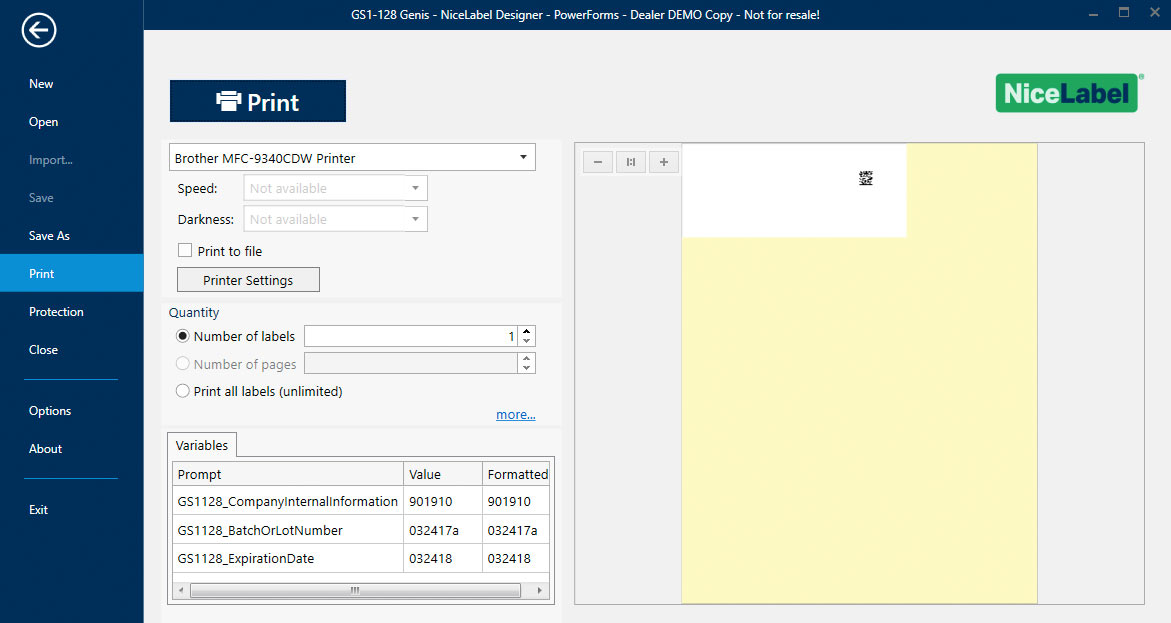
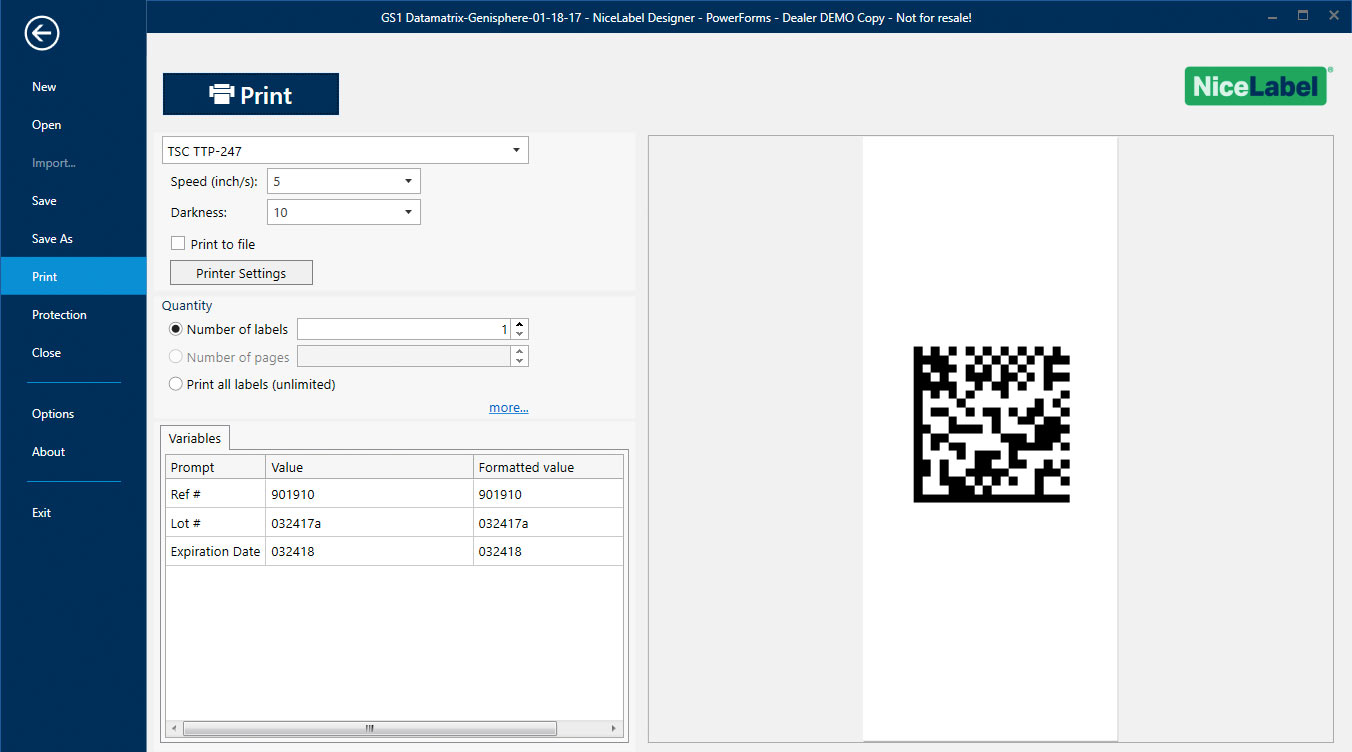
Now you can close the Source/Barcode box and view your new barcode. Drag the barcode to its desired location on the label then click the disk icon at the top to save the new format. I named the format GS-128 GEN and saved it to my documents folder. To print, click on File, Print, and the generic print form will open. This can be customized later. Notice that the 3 identifier variables appear in the variables grid where each value can be entered and retained if desired.
Verifying The New Barcode
The final step is to verify the printed barcode. On my Android device, I open a free app called ixMAT Scanner. It is one of the few that offers 2D GS1 barcode reading. For iPhone try Scandit Barcode Scanner.
When I scan my barcode it finds a string of plain text: 9190191010032417a17032418301.
Notice how each identifier precedes its data, before the next identifier is presented:
- Ref # (91) =
901910 - Lot # (10) =
032417a - Exp Date (17) =
032418 - Qty (30) =
1
 This data output matches what was expected, and the code was picked up instantly. For mission critical applications, 2D barcode verifiers can measure and
validate the overall print quality in more detail.
This data output matches what was expected, and the code was picked up instantly. For mission critical applications, 2D barcode verifiers can measure and
validate the overall print quality in more detail.
So that’s how simple it is to design and print GS1 2D Datamatrix barcodes with Loftware's Nicelabel Pro. Now all the operator has to do in the future is open the format, enter the data (database selection can also be an option), and print.
RighterTrack is a trusted NiceLabel Partneroffering label management and printing support for companies of all sizes. Contact George Righter today.
Published: